






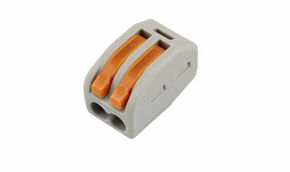
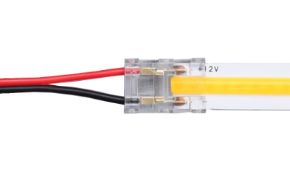
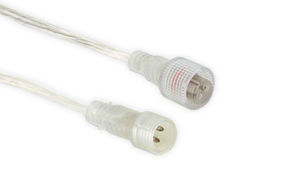
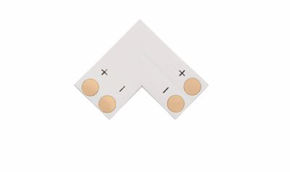

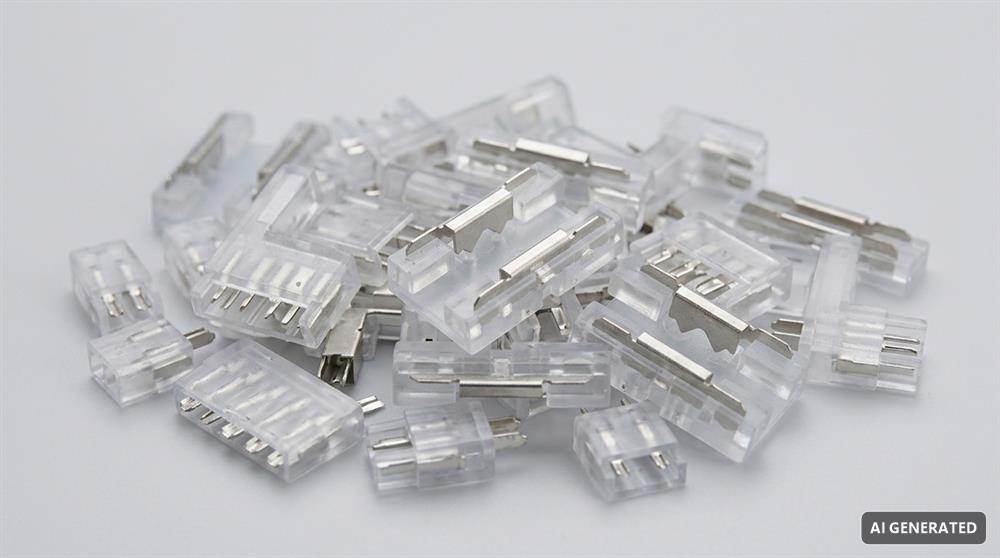
LED strip connectors: an increasingly popular accessory that allows for quick installation of strips. But how to navigate among the many types? Let's find out together!
LED strip connectors: complete compatibility table and selection guide
Connecting LED strips without soldering is now possible thanks to a wide range of solderless connectors. Choosing the wrong connector (by number of pins, PCB width, or amperage) can cause poor contacts, overheating, or strip failure. This guide presents the complete connector compatibility table, the interactive selection tool, and the technical rules for correctly connecting LED strips.
🔌 Tool: find the right connector for your LED strip
🔍 Select your LED strip characteristics
Enter your strip specifications and the type of connection you want to make.
Main table: led strip connectors — Complete compatibility
| Strip type | Pins | PCB 5mm | PCB 8mm | PCB 10mm | PCB 12mm | PCB 14mm | Max Amp/Pin |
|---|---|---|---|---|---|---|---|
| Single Color 2 pin | 2 | ✅ | ✅ | ✅ | ✅ | ✅ | 5A |
| CCT Tunable White 3 pin | 3 | ⚠️ | ✅ | ✅ | ✅ | ⚠️ | 5A |
| RGB 4 pin | 4 | ❌ | ❌ | ✅ | ✅ | ⚠️ | 5A |
| RGBW 5 pin | 5 | ❌ | ❌ | ⚠️ | ✅ | ✅ | 5A |
| RGBCCT 6 pin | 6 | ❌ | ❌ | ❌ | ⚠️ | ✅ | 3A |
✅ Standard compatible | ⚠️ Verify cut marks | ❌ Not compatible
LED strip connector types table: usage and characteristics
| Connector type | Attachment | Main use | Cable length | IP rating | Removable | Reliability |
|---|---|---|---|---|---|---|
| Press-fit clip (snap-in) | Snap lock | Joining strips together | No cable | IP20 | ✅ Yes | Good |
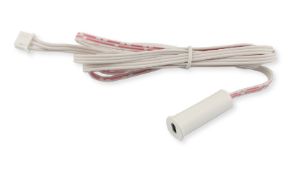
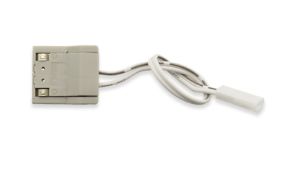
| Connector with flat cable | Clip + cable | Extension, controller distance | 10–50 cm typical | IP20 | ✅ Yes | Good |
| 90° angular connector | Double clip | Corners and turns | No cable | IP20 | ✅ Yes | Good |
| Screw terminal connector | Screw clamp | Fixed high-current installations | — | IP20 | ⚠️ With screwdriver | Excellent |
| Waterproof IP67 connector | Clip + gel sheath | IP65–IP68 strips, humid environments | Variable | IP67 | ❌ No | Good (for IP) |
| T-connector (branch) | Triple clip | Central power supply, branching | With cable | IP20 | ✅ Yes | Good |
| Soldering (not a connector) | Solder | Permanent high-power installations | — | Any | ❌ No | Excellent |
How to choose a connector: step-by-step guide
Step 1 — Identify your LED strip type
Look at your strip's PCB: count the solder pads at the end (the small metallic rectangles). The number of pads corresponds to the number of pins required for the connector: 2 pads = 2-pin single color, 4 pads = RGB, 5 pads = RGBW or CCT, and so on.
Step 2 — Measure the PCB width
With a ruler, measure the physical width of the PCB in millimeters. Standard widths are 8mm, 10mm, and 12mm. Most residential strips are 10mm. Standard 5050 RGB strips are generally 12mm. RGBCCT strips are 14mm.
Step 3 — Check the cut mark pitch
Every LED strip has defined cut points (every 2.5cm, 5cm, or 10cm). Clip connectors work correctly only if inserted exactly adjacent to a cut mark. Connectors inserted in the middle of a segment will not contact all pads.
Step 4 — Verify amperage
Calculate the current drawn by the strip: I(A) = P(W) / V(V). If it exceeds 3A for compact strips or 5A for standard strips, consider soldering or screw terminal connectors.
Connectors for IP65, IP67, and IP68 strips
Waterproof strips present specific challenges for connection:
| Strip IP rating | Covering | Suitable connector type | Required preparation | Notes |
|---|---|---|---|---|
| IP20 | None | Any standard connector | None | Easiest to connect |
| IP44 | Partial coating | Standard connector or terminal | Scrape coating off pad area | Be careful not to damage LEDs |
| IP65 | Top silicone layer | IP67 connector with sheath | Remove silicone from end (1-2cm) | Seal after connection |
| IP67 | External silicone tube | Waterproof IP67 connector | Cut tube, prepare the end | Use thermal sealant afterward |
| IP68 | Epoxy resin | Soldering + IP68 heat-shrink sheath | Partial resin removal (difficult) | Prefer soldering + sheath |
Indoor vs. outdoor connectors: key differences
Indoor use connectors (IP20)
Standard indoor connectors are designed for dry environments, false ceilings, kitchens without direct humidity. The body is ABS plastic, contacts are tin-plated or zinc-plated brass. They tolerate temperatures from –10°C to +60°C.
Outdoor use connectors (IP67)
Waterproof connectors incorporate a silicone or gel sheath that seals against water ingress. They are essential for outdoor strips, bathrooms (zones 0 and 1), pools, and gardens. Once closed, they cannot be disassembled without compromising their seal.
Common mistakes when using LED strip connectors
1. Wrong width connector
A 10mm connector on a 12mm strip won't close properly: the metal contacts won't touch the PCB pads. Always verify the exact PCB width with a caliper.
2. Reversed pins
Some strip manufacturers have pinouts reversed compared to the standard. Always verify the PCB silkscreen (+ on which side, R/G/B order) before connecting. Reversed polarity on RGB strips can cause incorrect colors or failure to work.
3. Strip not aligned with cut mark
Clip connectors work only if inserted exactly at the level of the solder pads. If the strip is poorly cut or the connector is offset by a few millimeters, contacts won't touch and the connection won't work.
4. Excessive current on cheap connectors
Low-quality connectors fail above 2–3A, overheating and causing visible voltage drop or connector failure. For high-power strips, prefer screw terminals or soldering.
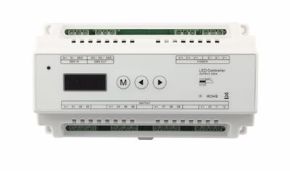
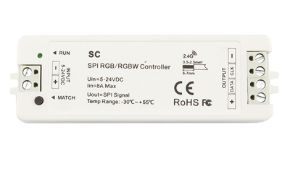
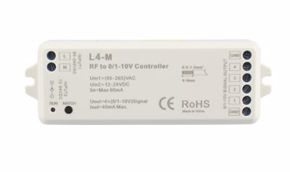
Table: connectors for Skydance controllers and dimmers
| Skydance controller | Output Pins | Connector Type from Strip | Adapter Cable | Notes |
|---|---|---|---|---|
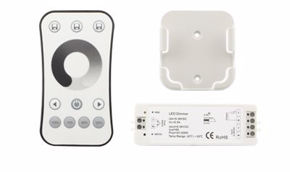
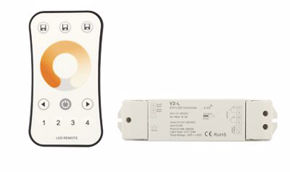
| Single-color controller (CV) | 2 pin (V+, V–) | 2-pin clip + cable | 2-wire flat cable | Watch polarity |
| CCT controller (V2) | 3 pin (V+, CH1, CH2) | 3-pin clip + cable | 3-wire flat cable | Verify channel assignment |
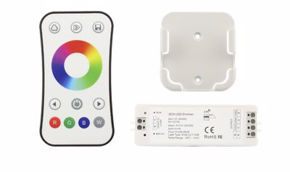
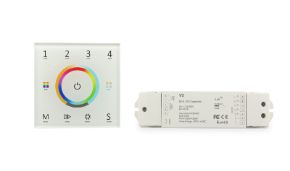
| RGB controller | 4 pin (R, G, B, V+) | 4-pin clip + cable | 4-wire flat cable | Common on + or –, verify type |
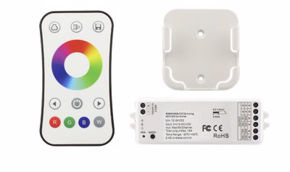
| RGBW controller | 5 pin (R, G, B, W, V+) | 5-pin clip + cable | 5-wire flat cable | Verify if common positive or negative |
| RGBCCT controller | 6 pin | 6-pin clip + cable | 6-wire flat cable | For dedicated Skydance RGBCCT strips |
FAQ on LED strip connectors
Use pressure-fit (solderless) connectors compatible with the strip's PCB width. Insert the connector with the strip powered off, sliding the PCB under the metal contacts until the locking click. Voltage must never exceed the connector's specification.
The 2-pin connector is for monochromatic strips (only + and –). The 4-pin connector is for RGB strips (R, G, B, and common). The 5-pin is for RGBW or CCT. Always choose the connector with the number of pins matching your strip type.
Good-quality connectors handle up to 5A per pin. For high-power applications (over 5A), soldering remains the most reliable solution. Always verify the product's maximum amperage specification.
Yes, 90° angular connectors for LED strips exist, useful for turning corners without cutting. Ensure the connector is compatible with your strip's PCB width (8, 10, or 12mm).
2-pin = single-color strip. 3-pin = CCT tunable white. 4-pin = RGB. 5-pin = RGBW or 5-channel CCT. 6-pin = 6-channel RGBCCT. Each pin corresponds to a color channel or the common pole.
See also: Ledpoint LED Strip Catalog | Skydance Controllers for LED Strips | LED Power Supplies | Aluminum LED Profiles
This article was developed with the support of artificial intelligence and subsequently reviewed, corrected, and validated by the Ledpoint.it technical team, which guarantees its reliability and compliance with official sources.