








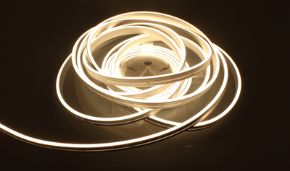

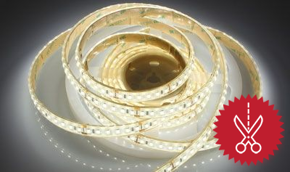

Led Strip 48V
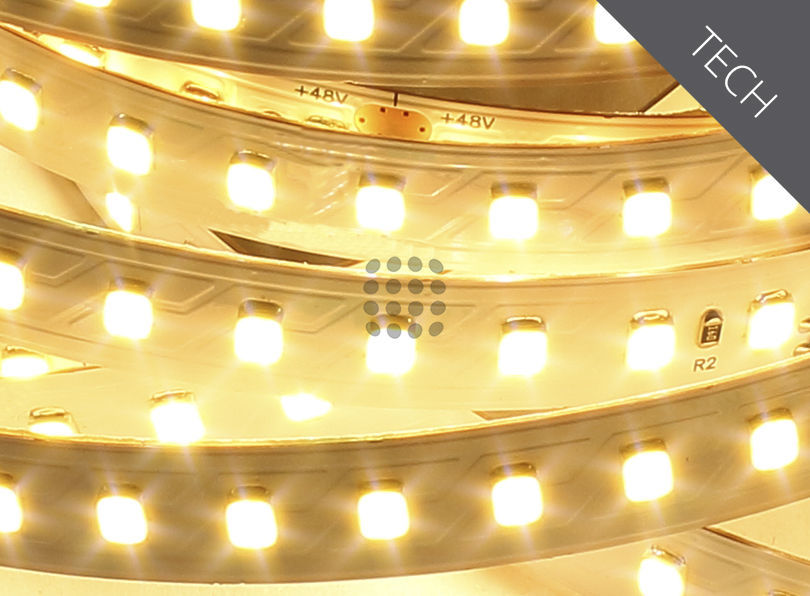
The trend of recent years is leading more and more to use LED strips in homes as a primary lighting source and not just decorative.
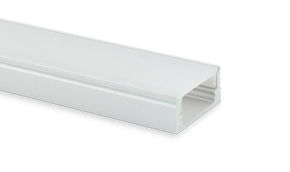
This lighting mode is in fact very effective and aesthetically appealing thanks to the great variety of aluminum profiles available.
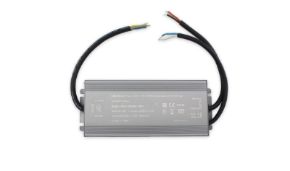
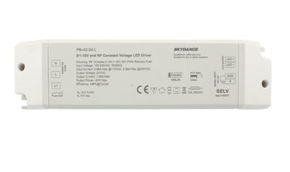
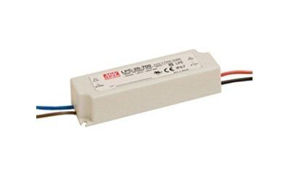
One of the difficulties often encountered in the construction of the electrical system is having to find the space for the installation of all the power supplies, sometimes really many, that power the LED strips. Usually from one to more power supplies are used, depending on the installed power, for each ignition. The location must also be taken care of to contain the distance from the strip and, in turn, to contain the voltage drop. A double bedroom easily has 4 or more power supplies (two for the two bedside tables, one for primary lighting and one for the decorative secondary).
Before seeing the advantages of using 48V lighting, it is good to highlight some features of the LED strips.
Voltage drop, LED number and efficiency
In order to choose a led strip it is important to understand how these work and, depending on the type of strip, what are the strengths and weaknesses.
From the electrical point of view, apart from the supply voltage, the strips can initially be divided into two large categories: with voltage power control (resistance) and with current power control (transistor or integrated circuit). Subsequently they are distinguished in the number of LEDs in series for each circuit. For the 24V strips, it normally ranges from 6 to 8 LEDs (lately also 9).
Power control in a led strip
The majority of led strips are made with a voltage power control. This design choice is made to reduce the final cost of the product and in many applications, it is not a penalizing choice. But let's see how the two versions work.
Voltage control

In the strips with voltage power control, the current circulating in the LEDs, and consequently the power, is defined with the value of the resistance placed in series with the LEDs. The current value is in fact given, according to Ohm's law, by the voltage Vr on the resistance divided by the value of the resistance itself. For example, with a voltage on the resistance of 6V and a resistance of 100 Ohm, a current of 60mA is obtained.
In a 24V LED strip with 60 LEDs per meter and cut every 6 LEDs, assuming a nominal voltage of the LEDs (Vf) of 3V, We have a total voltage on the LEDs of 3V * 6 = 18V and therefore a voltage on the resistance of 24V -18V = 6V. If We used a 100Ohm resistor I would get a current of 60mA for each cut of 6 LEDs. Having the chosen strip 10 cuts per meter, We can calculate the power per meter: 60mA * 10 = 600mA which corresponds to 24V * 0.6A = 14.4W per meter.
In ideal conditions, therefore, the power per meter of the strip can be easily set with a simple resistance. Unfortunately, in the real world, things are much more complex. The first obvious criticality is the hypothesis of a 3V Vf of the LEDs. This parameter in fact depends on the production lot of the LEDs and can vary a lot. The LEDs are however divided by voltage and during the production phase they are able to have a voltage accuracy of 0.1V (for example with a voltage from 2.9V to 3.0V).
This then allows you to calibrate the resistance with a fairly precise value. Too bad, however, that the LED voltage value varies during use based on the current flowing through the LED and the temperature of the LED. The value measured during the production of the LED and indicated on the packaging refers to the voltage Vf at declared nominal power. For led 2835 it is measured at 60mA.
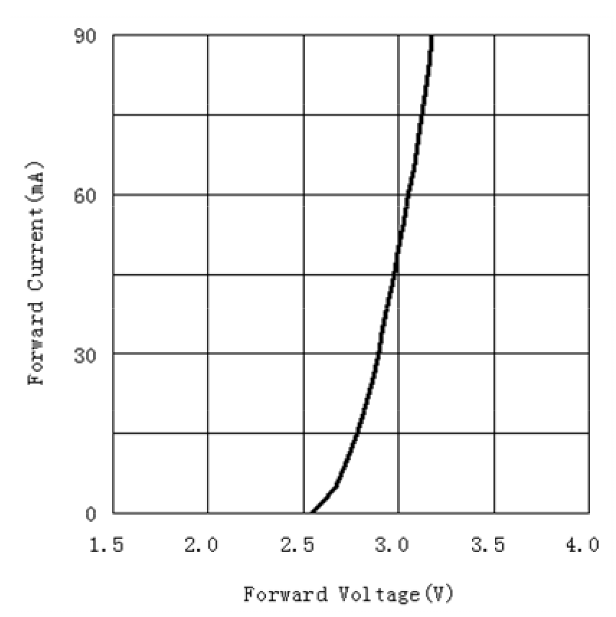
These variability therefore lead to making it impossible to set the exact power with this control mode. This is the reason why we talk about the nominal power of the led strip and the real power. In our LED strips the real power is "about" 10% less than the nominal power.
To this problem, difficult to solve in the design phase, is added a second problem essentially linked to how the LED strip will be used: the voltage drop on the circuit.
The led strip is in fact a circuit that can be very long and, depending on how it is powered, there can be very high voltage drops. The circuit on which the LEDs are mounted has copper tracks which, depending on the thickness, have a resistance that varies with the length. On lengths of 5 meters, power supply on one side and real power of 13W per meter, voltage drops of 1.5V can occur. This loss of voltage leads to a power loss, between the beginning and the end of the strip, of 25-30%. This means that if, indicatively, the first meter of strip consumes 13W, the last consumes 9.1W.
It is therefore evident that with this power control mode in an LED strip it is practically impossible to establish the power of an installed light in advance. There are too many factors that affect its real power.
Current control

In the LED strips with current power control, the circuit becomes complicated, increasing the cost but it is possible to free yourself from all or almost all the problems seen in the version with voltage control. It is not in the scope of this text to see how these circuits work and what are the advantages and disadvantages of the different implementations that can be made.
It is enough to know that the "active" part of the circuit, which replaces the resistor, is able to control the current flowing on the LED regardless of the voltage that powers the series of LEDs. These circuits are obviously not ideal and it is only necessary to highlight a problem that everyone has more or less. To work they need a sufficient voltage difference between the power supply and the LED voltage. Usually at least 1V is considered.
So in these strips, as long as the power supply voltage is higher than that of the LEDs by at least 1V, the current circulating on the LEDs is always the same as defined in the design phase. This means that in the example above of the 13W per meter strip, the power of the last meter is always 13W despite the fact that the power supply voltage of the last meter is no longer 24V but about 23.5V.
The disadvantage of this solution is the increase in costs. Each series has a current control instead of the resistance.
Number of LEDs in series and efficiency
This design aspect of LED strips is little known but, as we will see, of extreme importance as it drastically affects the performance of the strip.
The first feature that varies in an LED strip depending on the number of LEDs in series is efficiency. As we know, the efficiency of a light is measured in lumens per watt. In a LED strip of 13W per meter, 60 LEDs/m and a series of 6 LEDs that emit 1400 lumens per meter, I have an efficiency of about 108 lumens / W. This strip has 10 series circuits each meter (60 led per meter divided by 6 led). If I change the wiring diagram and bring the LEDs in series to 7, always keeping 10 circuits per meter, I get a LED strip of 70 LEDs per meter. If I keep the current flowing on the LEDs the same, the power per meter remains the same, always 13W. What happens to efficiency? The new strip has 10 LEDs per meter more than the old one. If I consider that the light emitted by the LEDs depends only on the current that circulates above it, I have that the new strip has 10/60 * 100 = 16.6% more light and therefore 1630 lumens per meter and an efficiency of 126 lumens/W.
If the new strip had 8 LEDs in series I would have a LED strip of 80 LEDs per meter and an increase in efficiency of 20/60 * 100 = 33.3% (144 lumen / W). An incredible increase at the cost of the extra LEDs alone.
These improvements are easily achieved by changing the wiring diagram of the strips but have an undesirable effect that must be taken into consideration. The voltage drop in the led strips with voltage power control causes a greater power drop with the same drop.
Let's always take as an example the led strip of 60 led/m, 24V with led having a voltage Vf of 2.8V. To calculate the resistance to be mounted, if you want a current of 60mA on the LEDs, I have to do: 6 LEDs * 2.8V = 16.8V → 24V-16.8V = 7.2V → R = 7.2V / 0.06A = 120 Ohm.
In the same type of strip but with 70 LEDs/m We have a resistance of: 7 LEDs * 2.8V = 19.6V → 24V-19.6V = 4.4V → R = 4.4V / 0.06A = 73 Ohm.
Finally, in the version with 80 LEDs/m We have a resistance of: 8 LEDs * 2.8V = 22.4V → 24V-22.4V = 1.6V → R = 1.6V / 0.06A = 26.6 Ohm.
As we said previously, the current flowing on the LEDs depends on the value of the resistance and the voltage on it. The calculations just carried out refer to the ideal condition at the beginning of the LED strip. If, due to the voltage drop along the strip, We had a loss of 1.5V, the power of the last meter of the strip would vary considerably depending on the number of LEDs in series. In fact, we see that with 6 LEDs in series We have 5.7V on the resistance instead of the 7.2V calculated in the design phase. With this voltage We therefore have a current of 47.5mA on the resistance instead of 60mA (-21%). In the strip with 7 LEDs in series We have 2.9V on the resistance instead of 4.4V calculated with a current of 39.7mA (-34%). Finally, in the strip with 8 LEDs in series We have 0.1V (!!!) instead of 1.6V calculated with a current of 4mA (-93%).
It is evident that in these operating conditions the LED strip with 8 LEDs in series cannot be used as the voltage drop affects its operation over long distances. It can therefore be deduced that very efficient LED strips, with 8 or even 9 LEDs in series, are extremely sensitive to voltage drops and must be used very carefully. Furthermore, they must be produced with thicker circuits (higher cost) in order to reduce voltage drops and therefore the problems this entails.
Conclusion
As we have seen, an ideal LED strip should have a high number of LEDs in series for each branch and a current control to eliminate the negative effect of the voltage drop.
A good compromise is reached with 48V led strips. In fact, with this voltage it is possible to make a series of 16 LEDs with current control, to reduce the currents involved with the same power and therefore to reduce the voltage drop. With 48V solutions it is possible to make lengths of strips twice as long as 24V and not to excessively increase the cost of the strip due to current control (in fact, remember that one circuit is needed for each series and 48V strips have half the series compared to to a 24V).
All right then? Almost, the biggest problem you have is the minimum cut of the strip which turns out to be double that of those at 24V. Fortunately, LED strips with many LEDs, such as 240 LEDs/m, even doubling the length of the cut, are not particularly limited in lighting applications. There are also some precautions that allow you not to be affected by the minimum cut in installations with profiles mounted in the plasterboard (just hide the excess piece of strip inside the plasterboard structure).
Evolution of the plants
It is important to make some considerations on the evolution of lighting systems with 48V strips.
A first important change to the lighting system that can be obtained thanks to the 48V strips is the substantial reduction of the power supplies required for a system with their location in the electrical panel. In fact, thanks to 48V it is conceivable to implement the distribution of light points directly at 48V from the main electrical panel, not having to worry too much about the voltage drop and therefore the distance of the light points from the electrical panel.
The choices depend on the powers involved but normally a light point in a home does not exceed 100-150W which correspond to 3A. This load can be managed with a 1.5mm2 conductor, practically what would have been used with a 230V light point. If the powers are higher, as you might have in the living room, you can use a conductor of 2.5mm2 or more (but the advice is to lay several conductors in parallel and serve different pieces of strips even if they belong to the same light point). Another advantage lies in the wiring which will be made of 2 conductors instead of 3 (earth is missing).
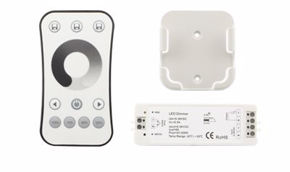
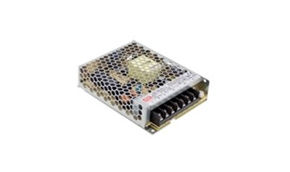
This system also allows you to concentrate all the home automation inside the electrical panel via low voltage dimmers and to use a single DIN rail power supply such as the Meanwell xxx-480. The advantages are reduced if the home system is devoid of home automation but still remain interesting. You can control the individual light points with the commands from the domestic series, guaranteeing a longer duration of the same, not having the problem of the starting current in ignition typical of the power supplies (even 60A !!!).
Having a 48V power supply could also optimize consumption if it is used to power the network equipment and all those users that can be powered (by choosing them at the time of purchase) at 48V (POE network switch, VDR, router, etc).
The 48V distribution also reduces the electric fields in the house generated by the 230V. Feature sometimes requested by customers.
It is the writer's belief that a widespread use of low voltage for home lighting can lead to many advantages that become important when using home automation for controlling lights.
It will take some time to allow control equipment manufacturers to include devices suitable for controlling 48V DC loads in their catalog, but this shouldn't be long. There are already manufacturers that supply some devices capable of working with these voltages and others that have in their catalog controllers declared to work at 12-24V but in reality also able of working at 48V.
This installation method was used in a complex lighting system based on 48V CCT LED strips with high CRI LEDs and no blue component in the 3000K LED. All the light points were wired with 3 wires (for the CCT) and brought to the lighting panel (one per floor). All the power is provided by 1 or two power supplies depending on the maximum power absorbed by the floor lights. Each light point is therefore controlled by a KNX dimmer. The realization of such a complex system with other systems would have involved the installation (with relative search for space in the junction boxes) of dozens of power supplies with as many complex control systems (dedicated, dali, or others), an increase in wiring and an important proliferation of problems over time. We know that every component that is inserted into the system can break, the less you put the fewer pieces you can break.
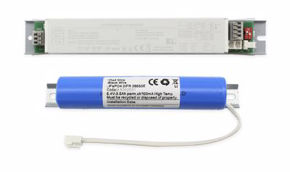
The concentration of all the lighting in the lighting panel also allows you to manage any emergency lighting policies directly with the primary light strips directly from the panel by inserting backup devices on the chosen lights. It is also possible to plan the insertion of the lighting panel under a possible backup unit linked to the photovoltaic system with storage system. In this way it is possible, with a small extra cost, to insert all the lights under the backup circuit.
The first disadvantage of this approach is to have all the lights dependent on one power supply, if that one burns out the whole house is in the dark. Fortunately, these devices are very performing and in some cases they can also be connected in parallel (and therefore give a certain resistance to breakage of a power supply).