









Cutting LED strips without making mistakes
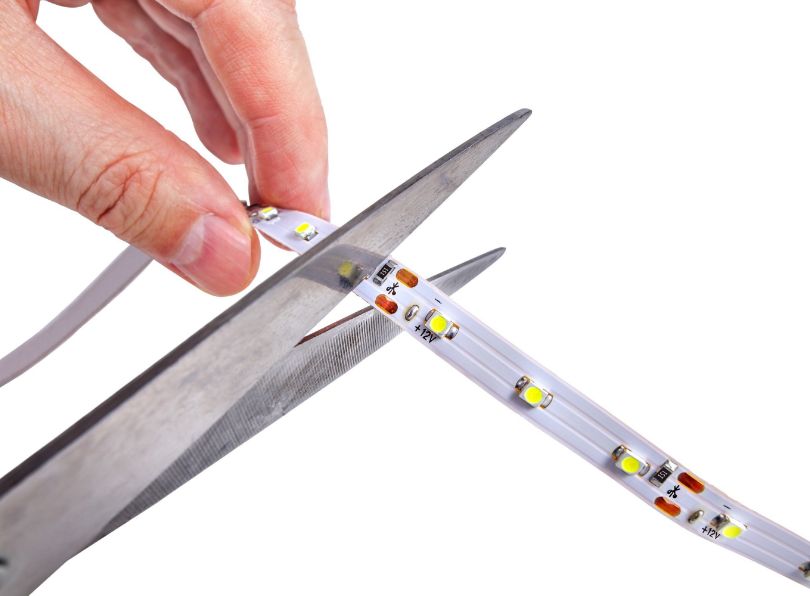
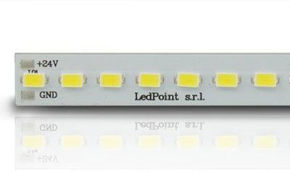
We are frequently asked how to cut LED strips correctly—and for good reason: over 60% of premature LED strip failures are caused by improper cuts and careless connections. After many years of hands-on experience and technical consulting, we created this concise guide to support users through the cutting process. Many assume an LED strip is merely a ribbon with tiny lights. In reality, it is a complex, miniaturized electronic circuit. Handling it without proper knowledge is the fastest way to compromise functionality and longevity. After many years of experience and consulting, we created this concise guide to support users through the cutting process. Before reaching for scissors, understand exactly what you’re cutting. An LED strip is a flexible printed circuit board (PCB). On it, LEDs and resistors are mounted in parallel groups called "modules" or "segments." Cutting at the wrong point breaks the electrical path, causing the strip to fail. Every strip has unique specs. Full technical datasheets are available in our catalog. Before cutting or connecting any LED strip, always verify the following: Let’s examine the cutting phase and essential precautions. Never treat this as a casual DIY step. Method 1 (Visual): Locate the two copper contact pads and the dashed line or scissors symbol. Between them lies a "neutral" zone with no components—this is the only safe cut point. Method 2 (Measurement): If markings are unclear, measure. Cut intervals vary by model and are always specified in the technical datasheet. Use calipers or a precision ruler. PHASE A: Preparation Always power off and disconnect the supply. Clean copper pads with electronic flux and a cotton swab to remove oxidation and ensure optimal solder adhesion. PHASE B: Cutting PHASE C: Soldering Multiple methods exist to connect and power LED strips. To eliminate voltage drop—especially in longer runs—consider dual-end power feeding. For strips over 5m, connect the power supply to both ends. This balances circuit resistance and prevents dimming or color shift mid-strip. Example: Installing a 10m 24V, 28.8W/m strip Q: Can I connect two cut 5m strips in series to make 10m? Q: The adhesive backing no longer holds. What now? Q: After cutting, the first 3 LEDs past the cut are dimmer. Why? Cutting and connecting an LED strip is not a trivial task to rush. Precision cutting and low-resistance connections are not optional: they are essential for uniform illumination, zero flicker, peak efficiency, and achieving (or exceeding) the 30,000-hour lifespan specified in datasheets. Every time you approach an LED strip with scissors or a soldering iron, you are modifying an electronic circuit. Respecting its inherent properties—cut points, voltage, conductor gauge—is what separates a flawed amateur result from a clean, professional installation you’ll rely on for years. Now that you know how to cut LED strips correctly, take the next step: browse the catalog! Why cutting LED strips correctly isn’t obvious
Key technical specifications
Parameter What it indicates Example (4000K LED) Consequence of ignoring it Voltage (V) 12V, 24V, 230V. Determines power supply compatibility and voltage drop. 24V DC Powering a 24V strip with 12V = dim or no light. Reversing = instant damage. LED Density (LEDs/m) Number of LEDs per linear meter: 30, 60, 120, 240. 120 LEDs/m Determines brightness and cut frequency. At 120 LEDs/m, cut every 2.5cm. Power (W/m) Power consumption per meter. Critical for sizing the power supply. 28.8 W/m Undersized power supply = overheating and drastically reduced lifespan. IP Rating Dust/water resistance level (e.g., IP20 for indoor, IP67/68 for outdoor/wet areas). IP67 (Waterproof) Cutting an IP67 strip? YOU MUST reseal the cut with silicone or hot glue. Max Run Length Maximum meters connectable in series to one power supply output. 10m for 24V (with central feed) Exceeding length causes voltage drop: end LEDs appear dimmer and yellower.
Cutting LED strips: where to cut—and where never to cutHow to identify safe cut points
Essential tools for cutting LED strips
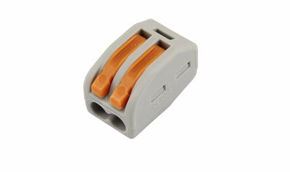
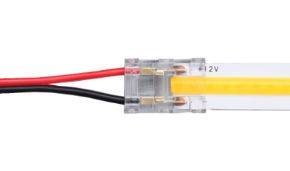
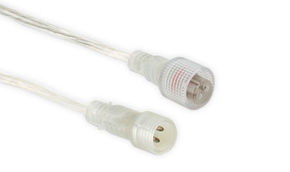
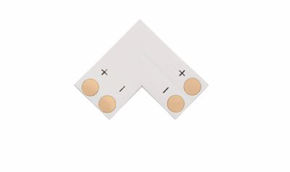
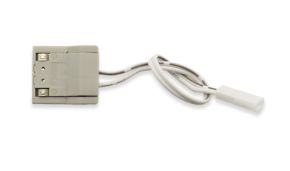
Tool Model Example Purpose Ultra-sharp utility knife Olfa ART-1 with replaceable blades Clean, perpendicular cuts prevent copper trace damage. Scissors cause micro-fractures. Heavy metal ruler 30cm steel ruler Guides the blade for millimeter-precise straight cuts. Plastic rulers flex. Temperature-controlled soldering iron Weller WE 1010 with 1–2mm fine tip Soldering ensures permanent, low-resistance joints. Ideal temp: 300–320°C. Connectors (soldering alternative) 4-pin clip connectors for LED strips Ideal for quick tests or temporary setups. For longevity, soldering remains superior.
How to cut LED strips: step by step
Connection diagram for joining strips
Mistakes to avoid when cutting LED strips
Frequently Asked Questions
A: Yes—but only with 24V strips and proper gauge wiring (min. 1.5mm²) between segments. For best results, also inject power at the midpoint.
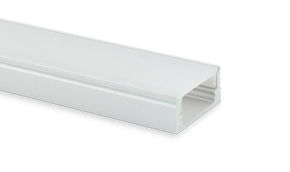
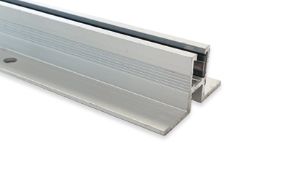
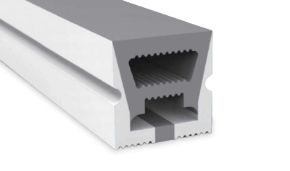
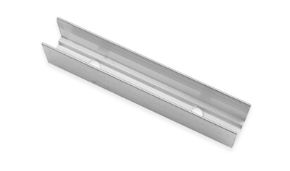
A: Adhesive is for temporary positioning only. For permanent installs, use Ledpoint aluminum profiles with diffuser covers—they secure, dissipate heat, and enhance light quality.
A: The cut was too close to the pad, damaging the trace feeding that segment. Cut off that segment and restart. LED circuits are extremely delicate.Cutting LED strips: never underestimate this step