





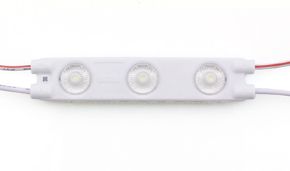
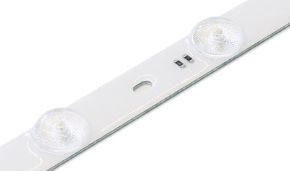
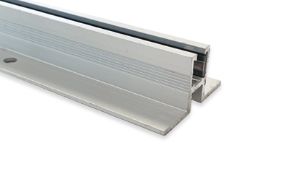

The plasterboard ceiling with LED is today the most requested solution for those who want to lower a ceiling and, at the same time, achieve diffuse, modern lighting without harsh shadows. In this article you will find a complete operational diagram: distances, channels, power supplies, color temperatures and LED strip connections, with practical indications for designers, construction companies and homeowners.
In this article...
1. What is a plasterboard ceiling and why choose it
Before talking about lighting, it's useful to clarify what we're talking about. A plasterboard ceiling is a suspended structure, made with metal profiles (tracks and studs) and plasterboard sheets, applied under the existing floor slab to lower its height, hide systems and create volumes useful for integrated lighting. It's not just an aesthetic covering: it's a true technical element of the building, which in most residential and commercial renovations performs three functions simultaneously.
The first function is plant-related: electrical cables, LED strip channels, and sometimes air ducts or piping pass through the suspended ceiling. The second is aesthetic: it allows you to create geometries, coves, light grooves and level plays that a flat ceiling does not allow. The third is performance: a well-designed plasterboard ceiling with LED improves visual comfort, reduces glare from spotlights and can also contribute to the acoustic and thermal insulation of the environment.
Those looking for suspended ceiling with LED almost always do so for a precise reason: to replace the classic central ceiling light with diffuse, soft light, distributed along the entire perimeter or on geometric ceiling designs. This is the trend that in recent years has made terms like ceiling with lighting, light cove in plasterboard and backlit ceiling popular: all variants of the same principle: applying an LED strip inside a plasterboard lowering to obtain light that seems to "be born" from the ceiling itself.
2. Advantages and disadvantages of plasterboard ceilings
Like any construction choice, plasterboard ceilings also involve compromises. Knowing them in advance avoids surprises on site and allows you to consciously decide if this is the right solution for your project.
Main advantages
The first advantage, the one most customers look for, is the possibility of integrating LED lighting directly into the structure, obtaining a "clean" ceiling, without visible ceiling lights. To this are added:
| Advantage | Why it matters |
| Fast installation | A suspended ceiling is installed in a few days, much faster than traditional masonry work |
| Hidden system passage | Cables, channels and power supplies remain invisible, without traces on the wall |
| Acoustic and thermal insulation | The cavity can house sound-absorbing material, improving living comfort |
| Design freedom | Coves, light grooves, double-level suspended ceilings, curved geometries |
| Reversibility | Unlike structural interventions, it can be removed or modified with relative ease |
| Compatibility with LED strips | The thickness of the suspended ceiling is ideal for housing LED profiles and power supplies |
Disadvantages to consider
Not everything is an advantage: it's correct to be transparent about limitations too. The suspended ceiling reduces the net height of the room, generally by 6-15 cm depending on the chosen solution, a datum to be carefully evaluated in already low rooms. Furthermore, approximate installation can generate the classic "suspended ceiling cracks" in the joints, often due to rushed plastering or incorrectly anchored structures. Finally, it should be remembered that standard plasterboard is not waterproof: in humid environments (bathrooms, laundries) a specific water-repellent board is needed, and the LED used must have an adequate IP protection rating.
3. Types of plasterboard ceilings and LED solutions
There are different types of suspended ceilings, each with different implications for LED strip lighting. Knowing them helps you choose the solution best suited to your environment, even before talking about specific products.
Single-level suspended ceiling
This is the simplest and most economical type: a single lowered plane, with possible recessed spotlights and, increasingly often, a plasterboard perimeter frame designed to house a continuous LED strip. This is the most common choice for those looking for a plasterboard LED ceiling on a limited budget but with a very scenic effect.
Double-level suspended ceiling with light cove
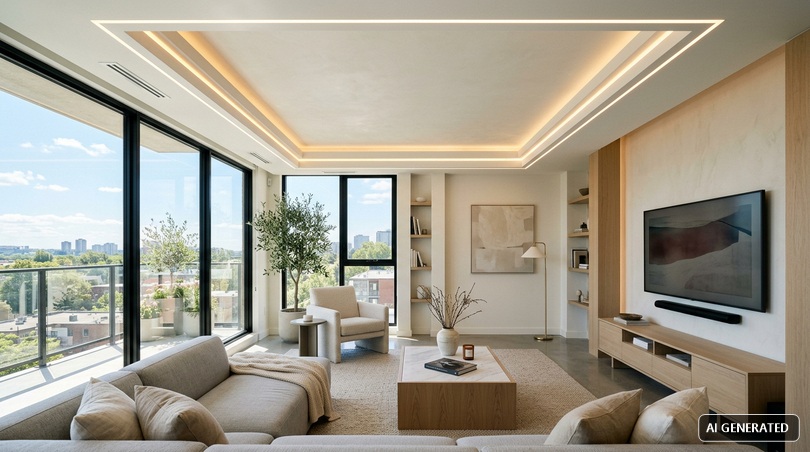
Here the ceiling is lowered on two levels: a higher central one and a lower perimeter band, creating a "step" between the two levels. In that step the LED strip is inserted, hidden from direct view but capable of illuminating both upwards (indirect effect on the ceiling) and downwards (ambient lighting). This configuration, often called ceiling with cove or plasterboard light cove, is today among the most requested in interior design projects because it combines clean aesthetics and lighting performance.
"Wave" suspended ceiling or with curved geometries
Curvable plasterboard allows you to create wave suspended ceilings, ceilings with sinuous patterns or curved coves, particularly scenic in commercial environments, showrooms and shops. In these cases the LED strip follows the curvature of the structure, a task that requires flexible or bendable aluminum profiles.
Fully backlit suspended ceiling
In this solution, more complex and used mainly in contract and retail, the entire surface of the suspended ceiling (or large portions) becomes a homogeneous light plane, thanks to semi-transparent panels backlit by LED strips distributed regularly. This is the most scenic version of the luminous ceiling, suitable for shops, halls, meeting rooms.
4. Complete diagram: how to light a suspended ceiling with LED strips
We arrive at the heart of the article: how to design, step by step, the LED strip lighting of a suspended ceiling. This diagram is designed to be followed both by a professional and by a homeowner who really wants to understand what they are about to install.
Step 1 — Choose the position of the LED strip
The three most common configurations are:
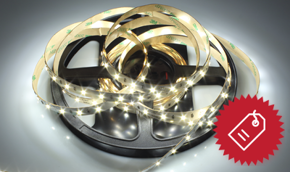
- Perimeter in cove: the strip runs along the perimeter of the suspended ceiling, hidden in a recess, and projects light upwards or downwards creating an effect of indirect and diffuse light.
- Geometric design: the strip follows a design (square, rectangle, circle) created in the plasterboard, often combined with a diffuser profile to avoid seeing the individual point LEDs.
- Combined with recessed spotlights: the strip manages diffuse ambient light, while adjustable spotlights take care of targeted lighting on functional areas (cooktop, reading area, pictures).
Step 2 — Calculate the correct distances
A recurring question is at what distance to place the spotlights in the plasterboard: the most used practical rule is to maintain a distance of about 60-80 cm between one spotlight and another and at least 30-40 cm from the wall, to avoid shadow areas and non-homogeneous "patches" of light. For LED strips the reasoning is different: the centimeters between one light point and another matter less (the strip is a continuous flow) and more the depth and width of the recess, which must be proportional to the power of the chosen strip to correctly dissipate heat and avoid overheating.
Step 3 — Size the channel and aluminum profile
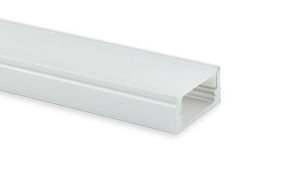
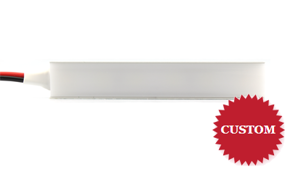
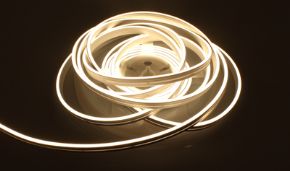
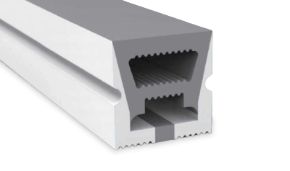
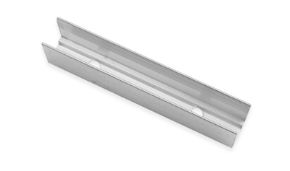
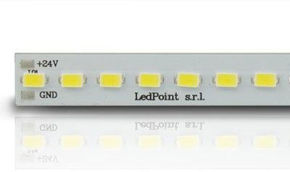
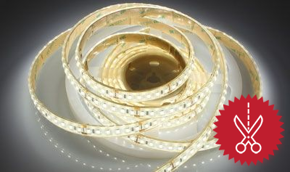
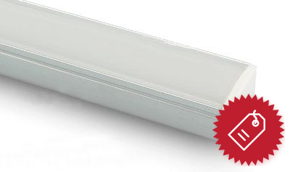
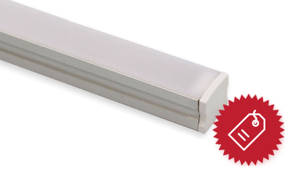
The LED strip should never be fixed bare on the plasterboard: it should be housed in an aluminum profile with opal polycarbonate diffuser, which has three functions: dissipate the heat produced by the LEDs, uniform the light eliminating the dotted effect, and physically protect the strip. The choice of profile section depends on the power per meter of the strip: the more watts per meter, the more the profile must be sized to dissipate heat.
Step 4 — Choose color temperature and color rendering
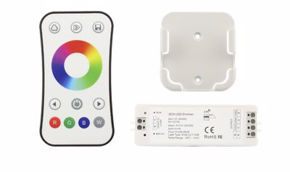
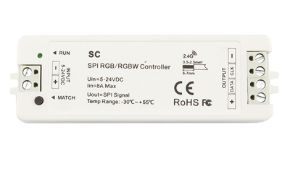
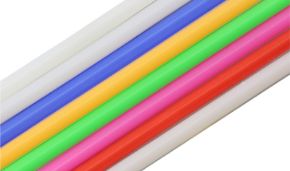
For living areas temperatures between 2700K and 3000K (warm, cozy light) are generally used, while for kitchens, offices and operational environments 3500-4000K (neutral light, more functional) are preferred. The most advanced solutions, often referred to as CCT LED strips, allow you to adjust the color temperature via app or remote control, switching from warm to cool depending on the time of day. For those who want color scenography, RGB or RGBW strips add the color component, much requested in retail and convivial spaces.
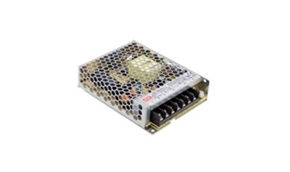
Step 5 — Size the power supply
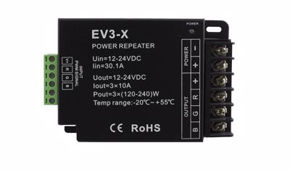
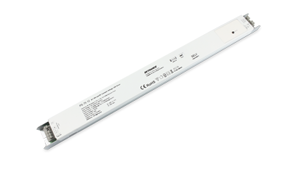
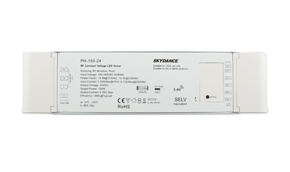
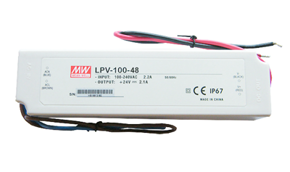
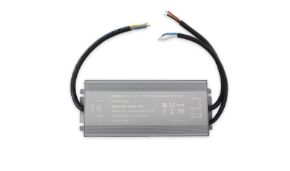
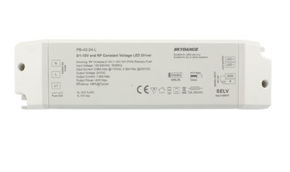
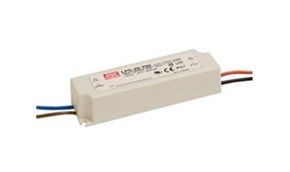
Low voltage LED strips (12V or 24V) require a correctly sized power supply: the rule is to sum the power per meter of all installed strips and add a safety margin of about 20%, to not stress the power supply and ensure its durability over time. The power supply should be positioned in an accessible point of the suspended ceiling (for possible future maintenance) and never in direct contact with insulating material that prevents heat dissipation.
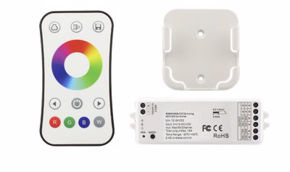
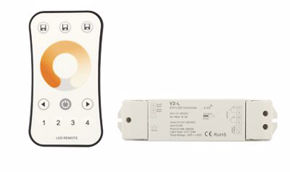
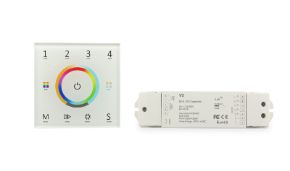
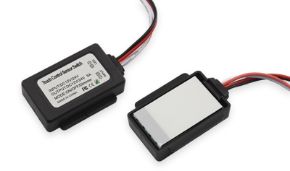
Step 6 — Provide for dimming and control
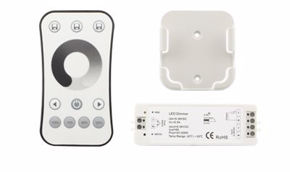
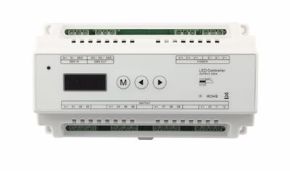
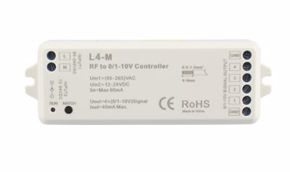
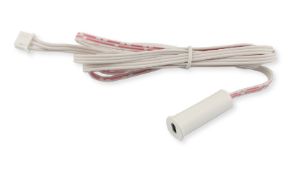
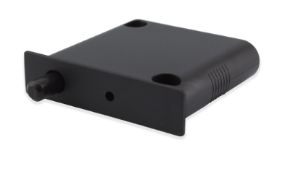
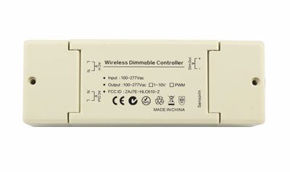
A good lighting diagram today almost always provides for a light intensity regulation system (dimmer), both with a wall switch and via app or home automation. For the living room LED ceiling in particular, the possibility of lowering the intensity during evenings is one of the details that most affects the perception of environmental quality.
Practical example of power supply calculation
To really understand how to size a power supply, it's useful to see a concrete case. Suppose we need to light a living room with a perimeter light cove with a total length of 14 meters, using an LED strip of 9.6 W per meter:
- Total strip power: 14 meters × 9.6 W/m = 134.4 W
- Recommended safety margin: +20% to avoid making the power supply work at the continuous limit, avoiding overheating and reducing its wear over time
- Power supply power to choose: 134.4 W × 1.2 ≈ 161 W, rounded up to the immediately higher commercial size (typically a 180-200 W module is chosen)
This calculation must always be repeated for each independent circuit of the suspended ceiling: if the project provides for two or more separately dimmable zones (for example perimeter cove and central geometric design), each will have its own dedicated power supply, sized based on only the portion of strip it powers. A very common mistake on site is connecting multiple independent circuits to a single undersized power supply: the result is a drop in brightness in the sections furthest from the power point and a reduced useful life of the entire system.
It's also important to consider the voltage drop along the cable: for 12V or 24V LED strips, beyond a few meters of distance between power supply and start of the strip (or between one section and another on very long paths), the incoming voltage can drop to the point of making a loss of brightness visible towards the end of the path. The most common solution is to power the strip from a central point rather than from one end, or to use larger section cables on the longest sections.
5. Installation phases of plasterboard ceiling with LED
Understanding how a suspended ceiling is made also helps to communicate better with the company that makes it. Here are the main phases, from design to finishing.
Phase 1 — Design and survey
The available height is surveyed, the position of existing systems (electrical, hydraulic, air conditioning) and the thickness of the lowering is defined, taking into account the space needed for channels, LED profiles and power supplies.
Phase 2 — Making the metal structure
The perimeter tracks are fixed to the wall and the metal framework is suspended from the floor slab using adjustable hangers, which allow precise definition of the various levels of the suspended ceiling, including the coves for light grooves.
Phase 3 — System passage
Before closing with the boards, electrical cables, LED strip channels, any provisions for spotlights and power supplies are laid, verifying that each component is reachable for future maintenance.
Phase 4 — Installation of plasterboard sheets
The boards are screwed to the metal structure, cut to size to create the spotlight openings and the slots for the LED strips. In wet areas specific water-repellent boards are used.
Phase 5 — Plastering and finishing
Joints, screw heads and corners are plastered and sanded until a smooth surface is obtained, ready for painting. It's in this phase that much of the perceived quality of the finished work is at stake: rushed plastering is the most common cause of the famous "cracks" in suspended ceilings.
Phase 6 — Installation and testing of lighting
The LED strips are installed in the profiles, the power supplies are connected, electrical testing is carried out and the uniformity of the light is verified along the entire development of the strip before final painting.
6. LED lighting for every room in the house
Each room has different needs. Here's how to adapt the LED strip lighting diagram to the main domestic and commercial environments.
Living room
In the living room LED ceiling the goal is almost always to create a warm and adjustable atmosphere: perimeter light cove at 2700-3000K, dimmer to modulate the intensity at different times of the day, possible integration with adjustable spotlights to illuminate reading areas or decorative elements.
Kitchen
Here functionality prevails: plasterboard ceiling with kitchen LED spotlights is among the most frequent search combinations, because in this environment you need more intense and neutral light (3500-4000K) above the work surface, often combined with a continuous LED strip for general lighting.
Bedroom
In the sleeping area warm, dimmable lights are preferred, often with a double circuit: one for general lighting and one more subdued for the evening, perhaps integrated in a cove above the bed headboard.
Bathroom
Here the keyword is protection: water-repellent plasterboard, LED strips with IP65 or higher protection rating in areas subject to humidity, power supplies positioned outside areas in direct contact with water and steam.
Offices, shops and commercial spaces
In work and sales environments, LED strip lighting integrated into the suspended ceiling also becomes a brand communication tool: neutral or cool color temperatures for product rendering, continuous light grooves to guide the customer's gaze, dimmable systems to adapt lighting to events and different moments of the business day.
7. Costs and prices: how much does a plasterboard ceiling with LED cost
One of the most searched aspects online concerns costs. It's good to premise that the price of a plasterboard ceiling with integrated lighting depends on numerous variables: design complexity, number of levels, type of LED strip, presence of dimming or home automation, and of course the geographical area and local labor. The following values are indicative and should always be verified with a precise quote on the specific project.
| Item | Indicative range | Notes |
| Single-level ceiling, without lighting | 25-40 €/sqm | Structure and boards only, materials and installation |
| Ceiling with perimeter light cove | 40-70 €/sqm | Includes LED profile and basic wiring |
| Double-level ceiling with LED strip | 60-100 €/sqm | Greater structural complexity |
| LED strip + aluminum profile + power supply | 15-40 €/linear meter | Varies greatly based on power and quality |
| Dimming/home automation system | 80-300 € per circuit | Depends on the level of integration required |
| Labor (installation only) | 15-30 €/sqm | Materials excluded |
To give a concrete example: a 20 sqm living room with perimeter light cove ceiling and dimmer generally falls in a range between 1,500 and 3,000 euros overall, including materials and labor, while simpler single-level solutions without integrated lighting can stay under 1,000 euros. It's always advisable to request several detailed quotes, verifying that they include both materials (plasterboard, profiles, LED strips, power supplies) and labor, to compare truly equivalent offers.
What really makes the price vary
In addition to the surface area in square meters, there are four factors that most affect the final quote, and it's useful to know them to understand (and discuss) a quote received:
- Number of levels and geometric complexity: a single-level ceiling with flat surface costs significantly less than a double-level one with coves and light grooves, because it requires more metal structure, more cuts and more hours of specialized labor.
- Quality and power of the LED strip: low consumption strips with excellent color rendering (high CRI) and quality drivers cost more to purchase but guarantee greater durability and lower risk of failures over time, a factor that affects the total cost of ownership, not just the purchase price.
- Presence of dimming or home automation: a simple wall dimmer has a contained cost, while integration with home automation systems (app control, scenarios, integration with voice assistants) significantly increases the budget dedicated to systems.
- Status of the existing electrical system: if the room's electrical system needs to be adapted or integrated with new dedicated lines for LED lighting, the cost of the electrical intervention must be added to that of the ceiling itself.
An indicative reference by geographical area
The cost of labor in Italy is not uniform: it varies based on the region, the availability of specialized labor and the level of local demand. The following table offers a purely indicative order of magnitude for the labor item alone on a double-level ceiling with light cove; materials (plasterboard, profiles, LED strips) instead have a much more uniform cost throughout the national territory, because they are linked to national supplier price lists.
| Macro-area | Indicative labor | Notes |
| Northern Italy | 20-32 €/sqm | Greater demand for specialized labor in large cities |
| Central Italy | 18-28 €/sqm | Intermediate values, variable between urban and provincial areas |
| Southern Italy and Islands | 15-24 €/sqm | Generally lower labor, still verify local quotes |
These values are indicative and do not replace a real quote: the most useful thing, before signing a contract, is still always to compare at least three quotes from different companies, verifying that they describe with precision materials, brands, board thicknesses and technical characteristics of the proposed LED strips.
8. Materials, acoustic insulation and eco-sustainable alternatives
The choice of materials affects not only the aesthetics but also the acoustic and environmental performance of the suspended ceiling. Standard plasterboard is fine for most dry environments, while in bathrooms and kitchens a water-repellent board is preferable while in environments with fire safety requirements specific classified boards are used. For acoustic insulation, the cavity between the existing floor slab and the suspended ceiling can be filled with sound-absorbing materials (rock wool, recycled polyester fiber), significantly reducing noise transmission between floors.
Main types of plasterboard sheets
Not all plasterboard sheets are the same: choosing the correct type based on the intended use of the environment is one of the most important technical aspects, often underestimated during the quote phase.
| Type of board | Recommended environment |
| Standard (white) | Dry environments: living room, bedrooms, corridors, offices |
| Water-repellent (green) | Bathrooms, kitchens, laundries, environments with humidity |
| Fire-resistant (pink/red) | Technical rooms, premises with specific fire regulations |
| Sound-insulating | Walls and ceilings between different housing units, meeting rooms |
| Coupled with insulator | Attics, environments with reinforced thermal insulation requirements |
For a plasterboard ceiling with LED the choice of the correct board is particularly important in areas where the strip generates heat in a reduced cavity: an inadequate board for the context (for example standard in a poorly ventilated bathroom) accelerates deterioration over time and favors mold formation, regardless of the quality of the installed LED system.
Sustainability and energy efficiency
On the sustainability front, plasterboard sheets with a high percentage of recycled material are now available, 100% recyclable aluminum profiles and low consumption LED strips with luminous efficiency (lm/W) much higher than solutions from a few years ago, a datum that affects both energy consumption and the useful life of the system. For the same perceived light, a modern and efficient LED strip consumes significantly less than a dated system, an aspect to be considered especially in energy renovation projects where each intervention contributes to the overall performance of the building.
9. Maintenance, humidity and repairs
A well-made plasterboard ceiling requires little ordinary maintenance, but there are some points of attention that are worth knowing. Cracks in the joints, when they appear, are almost always linked to plastering not done according to rules or to small structural adjustments of the building: they are solved with targeted plastering and localized repainting. Mold, instead, is a different problem: it typically appears in the presence of leaks or improperly managed condensation, and is more frequent if a water-repellent board has not been used in humid environments. In these cases the solution is not simply to "clean" but to identify and resolve the cause of excess humidity.
As for lighting, quality LED strips have a very long useful life (often over 30,000-50,000 hours), but it's still useful to provide, during the design phase, access points to the suspended ceiling for possible future replacement of strips or power supplies, avoiding having to intervene invasively on the finished structure.
10. Quick guide for professionals: construction company, architect, plumber, interior designer
Those who work professionally with plasterboard ceilings have specific needs depending on their role in the project. Here are some targeted ideas for the most involved figures.
For the construction company
Reducing installation times without sacrificing finishing quality means standardizing construction details and precisely planning the sequence between masonry, system and finishing works, to avoid rework. In practice, it's convenient to:
- Prepare standardized kits for the most requested light grooves (profile, diffuser, brackets), reducing cutting and adaptation time on site.
- Agree with the client, already in the quote phase, the brand and model of LED strip to be installed, avoiding last minute substitutions that lengthen times.
- Schedule plastering in multiple coats with adequate drying times: this is the phase that most affects perceived quality and the risk of subsequent cracks.
For the architect
The integration between suspended ceiling and lighting system must be thought of already in the executive design phase, defining color temperature, control points and dimming together with the rest of the lighting design, not as a subsequent intervention. Some operational suggestions:
- Indicate on the drawing the detailed section of the light cove, with precise depth and width dimensions of the recess, to avoid different interpretations on site.
- Specify minimum CRI required for LED strips in high-end residential projects, where the color rendering of furnishings and materials is an integral part of the aesthetic result.
- Provide, in the bill of quantities, a dedicated item for dimming and possible home automation integration, often forgotten in generic quotes.
For the plumber and system installer
Electrical safety is the central point: correct sizing of power supplies, IP protection adequate to the environment, accessibility of junction points for future maintenance. In particular it's convenient to:
- Always verify the IP protection rating of the strip required by the environment (IP20 for dry interiors, IP44 or higher for bathrooms and splash risk areas).
- Provide inspection hatches or panels at the power supplies, for maintenance interventions without having to demolish portions of finished ceiling.
- Document the electrical diagram made (cable position, power supplies, junctions) and deliver it to the client at the end of the work, a detail that makes the difference in case of future maintenance.
For the renovation company
Offering a "turnkey" service that includes lighting design, not just plasterboard installation, is often the element that makes the difference in the perception of quality by the end customer, and allows you to correctly estimate the overall costs of the project from the initial quote. To really differentiate yourself it's convenient to:
- Present the customer with a rendering or a simplified diagram of the expected light effect, not just the technical description of the ceiling.
- Include in the quote, transparently, the brand and technical specifications of the proposed LED strips, to differentiate yourself from those who sell only "square meters of plasterboard".
- Communicate clearly the product certifications (CE marking, IP protection class, warranty) as an element of reliability of the service offered.
For the interior designer
The choice between spotlights, continuous LED strips or combined solutions must always be adapted to the aesthetic and functional needs of the customer, favoring solutions with good color rendering (high CRI) for high-end residential environments. Some useful criteria to guide the choice with the customer:
- For environments where the color of furnishings and materials is central (living, dining area), favor strips with CRI 90+.
- For functional environments (kitchens, studies), favor neutral color temperatures and a good compromise between efficiency and color rendering.
- Always provide, when the budget allows, an intensity regulation system: this is the element that most affects the perception of lighting quality over time, much more than the mere aesthetic choice of the profile.
11. 2026 trends in LED ceiling design
The smart lighting market confirms this trend with concrete numbers. The global smart lighting market reached about 27.5 billion dollars in 2026, with an average growth forecast of almost 20% per year until 2031, while Europe maintains one of the largest market shares worldwide, supported by particularly stringent energy efficiency standards.
Looking more specifically at the segment that directly interests ceilings, dimmable LED strips are growing at a more contained but constant rate, of about 6.8% per year until 2035, driven especially by residential renovation and the spread of smart home ecosystems, with demand shifting from simple functional lighting towards ambient atmosphere, targeted lighting and integration with furnishings.
A further acceleration factor comes from the regulatory front: the European ban on the sale of most mercury-containing lamps came into force on December 31, 2025, a measure that analysts indicate as one of the main drivers behind the current wave of replacement towards LED solutions and smart control, including those integrated into plasterboard ceilings. These market numbers are accompanied by an evident change in taste: there is growing demand for minimal solutions, where the LED strip is completely invisible to direct view and the only perceived element is the light itself, without apparent source.
Interest in dimmable and color temperature adjustable systems via app is growing in parallel, integrated into home automation systems, and for scenic solutions such as wave or backlit ceilings, increasingly widespread in contract and retail.
12. Frequently asked questions (FAQ)
At what distance are spotlights placed in a plasterboard ceiling?Generally a distance of 60-80 cm is maintained between one spotlight and another and about 30-40 cm from the perimeter walls, to obtain uniform lighting without evident shadow areas. The exact distance must however be calibrated based on the ceiling height and the emission angle of the chosen spotlights. |
How much does a plasterboard ceiling with LED cost?The cost varies indicatively between 40 and 100 €/sqm depending on the complexity of the design and the type of integrated lighting, excluding any home automation. For an accurate quote, a precise survey of the specific project is always recommended. |
What type of LED to choose for a ceiling?For the living room, 2700-3000K strips are generally preferred, for kitchens and offices more neutral temperatures between 3500 and 4000K. In humid environments such as bathrooms, strips with IP44 or higher protection rating are needed. |
Does plasterboard resist water?Standard plasterboard is not waterproof: in humid environments a specific water-repellent board must always be used, combined with adequate ventilation to prevent condensation and mold. |
How long does an LED strip last in a ceiling?Quality LED strips generally have a useful life between 30,000 and 50,000 hours, provided they are correctly sized with respect to the power supply and dissipate heat well inside the aluminum profile. |
How much does the ceiling lower with a plasterboard ceiling?It depends on the solution: a single-level ceiling can lower the ceiling by as little as 6-8 cm, while double-level solutions with light cove generally require 10-15 cm to correctly house profiles and wiring. |
Why do cracks appear in the joints of the ceiling?Cracks are almost always linked to plastering not done according to rules or to small structural adjustments of the building, not to an intrinsic defect of the plasterboard: they are solved with targeted plastering and localized repainting. |
Can an LED strip integrated in the ceiling be dimmed?Yes, with a power supply and a driver compatible with dimming it's possible to regulate the light intensity both with traditional switches and with home automation systems and apps, a function now much requested especially in the living room and bedroom. |
13. Suspended ceiling with LED strips: a combination of aesthetics and functionality
Lighting a suspended ceiling with LED strips is work that combines construction and electrical skills: the success of the project depends as much on the quality of the plasterboard structure as on the correct choice and sizing of strips, profiles and power supplies.
Following the diagram described in this guide (from choosing the configuration, to calculating distances, to dimming) it's possible to obtain a result that combines aesthetics, functionality and durability over time.
For those evaluating the products to use, the catalog of LED strips, aluminum profiles and power supplies available on Ledpoint.it offers solutions designed precisely for this type of application, with complete technical specifications to guide the choice based on the environment and the desired result.
This article was developed with the support of artificial intelligence and subsequently reviewed, corrected, and validated by the Ledpoint.it technical team, which guarantees its reliability and compliance with official sources.