






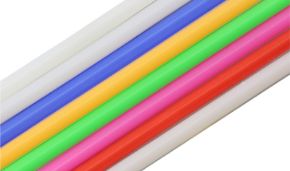
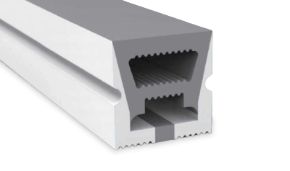
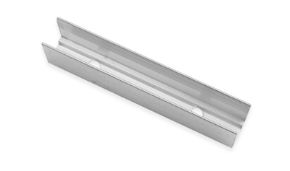
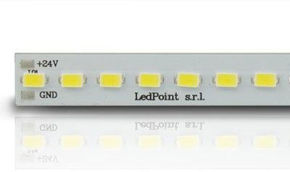

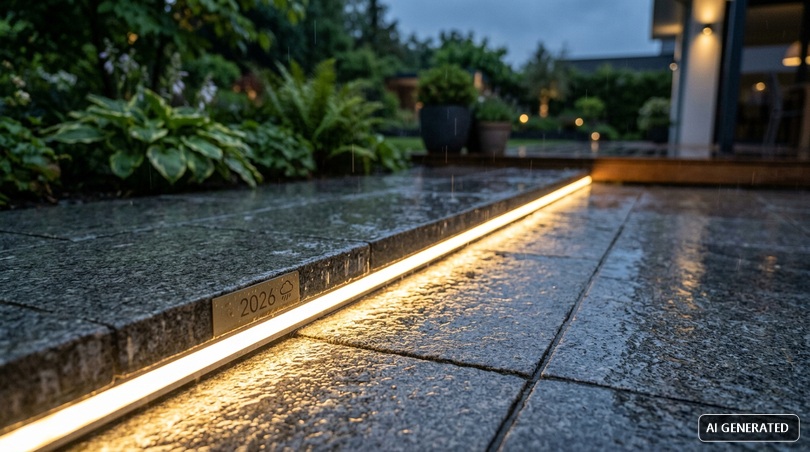
A waterproof LED strip should be used whenever the lighting needs to withstand water, humidity, dust, or weather elements: showers, bathrooms, kitchens, balconies, gardens, swimming pools, facades, boats, and aquariums. The resistance is indicated by the IP rating (IP65, IP67, IP68): the higher the number, the greater the protection against splashes, water jets, or immersion.
In this article...
What a waterproof LED strip is and how it works
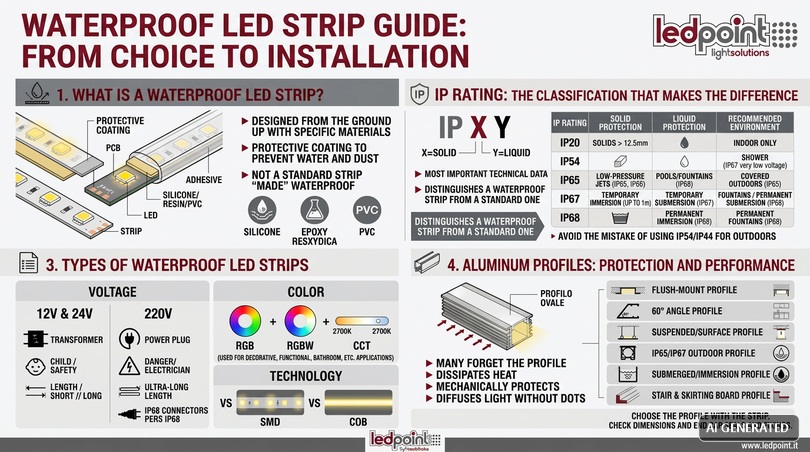
Before choosing any product, it's worth understanding what we are really talking about. A waterproof LED strip is not simply a standard LED strip "made waterproof" afterwards: it is a product designed from the ground up with specific materials and manufacturing processes to withstand water, humidity, and, in the most advanced versions, even temporary immersion. Understanding this difference is the first step to avoiding a bad purchase, especially if the installation concerns an outdoor environment or one in direct contact with water, such as a shower or the edge of a swimming pool.
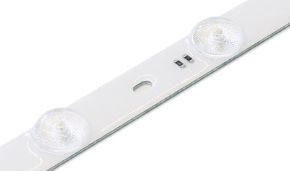
From a construction point of view, a waterproof LED strip consists of a flexible circuit on which LED chips (SMD or COB) are soldered, coated with a protective layer of silicone, epoxy resin, or transparent PVC sheathing. This coating is what prevents water and dust from reaching the electrical contacts and chips, preventing short circuits, oxidation, and loss of brightness over time. There are different coating levels, from simple spray "coating" to complete silicone encapsulation, and it is precisely this that determines the IP protection rating we will see in the next paragraph.
It is important to immediately clear up a very common misconception: not all waterproof LED strips are the same, and not all of them are suitable for every environment. A strip suitable for a covered balcony is not necessarily suitable for a pool edge, just as a strip suitable for the outside of a house might not withstand the continuous water vapor of a shower. The correct choice always depends on the IP rating, the power supply voltage, and the type of installation (exposed, recessed in a profile, submerged).
IP Rating: the classification that really makes a difference
The IP (Ingress Protection) rating is the international standard, governed by IEC 60529, which indicates the level of protection of an electrical device against the ingress of solids (first digit) and liquids (second digit). This is the most important technical specification to check before buying an LED strip intended for a humid or outdoor environment, and it is the criterion that truly distinguishes a waterproof LED strip from a standard indoor LED strip.
| IP Rating | Protection from solids | Protection from liquids | Recommended environment |
| IP20 | Solid objects > 12.5 mm | None | Indoor only, dry environments |
| IP54 | Partial protection against dust | Water splashes from any direction | Kitchens, covered semi-outdoor areas |
| IP65 | Total (dust) | Low-pressure water jets | Covered outdoors, balconies, cornices |
| IP67 | Total (dust) | Temporary immersion up to 1 m | Gardens, pool edges, uncovered outdoors |
| IP68 | Total (dust) | Permanent immersion | Fountains, aquariums, underwater, direct jet showers |
To answer the most searched question on this topic: a waterproof IP65 LED strip is suitable for splashes and light rain but must never be submerged, while a waterproof IP68 LED strip is the only correct choice for applications in permanent contact with water, such as the underwater lighting of a fountain or an aquarium. For a shower, where water vapor and direct splashes are frequent but there is no actual immersion, the most common compromise is an IP67 strip powered by very low voltage (12V), paired with a transformer positioned outside the wet area.
A common mistake is confusing a waterproof LED strip with a strip that is simply "moisture-resistant". The IP54 and IP44 ratings, often found on cheap products, offer minimal protection, sufficient for a kitchen far from the sink but totally inadequate for the outdoors or for environments in direct contact with running water.
Types of waterproof LED strips: 12V, 24V, 220V, RGB, RGBW, COB
There are numerous variants of waterproof LED strips on the market, each designed for different needs in terms of voltage, light color, and color rendering. Knowing the differences helps you choose the right product without oversizing (or undersizing) the system.
12V and 24V waterproof LED strips
The very low voltage versions (12V and 24V) are the most common for residential use and are also the safest in the presence of water, because in case of accidental contact, the risk to people is zero or negligible. The high-brightness waterproof 12v LED strip is the most common choice for short runs (up to 5-8 meters per single power line), while 24V is preferable for longer installations, because it reduces voltage drop along the path and ensures more uniform brightness from the beginning to the end of the strip.
220V waterproof LED strip
The waterproof 220v LED strip connects directly to the electrical grid without the need for an external transformer, making it convenient for very long installations (up to 25-50 continuous meters) such as perimeter profiles for large gardens or facades. However, it must be handled with greater care: it always requires an upstream residual current circuit breaker, IP68 certified waterproof connectors on every junction, and the intervention of a qualified electrician for connection to the 220V line.
RGB, RGBW, and CCT: the color of light
In addition to voltage, strips differ in color type. The waterproof RGB LED strip allows you to change colors via remote control or app and is chosen mainly for decorative and scenographic applications (gardens, pools, venues). RGBW versions add a pure white channel for functional as well as decorative lighting. For environments where stable, high-quality white light is needed (bathrooms, showers, outdoor kitchens), single-color versions with a fixed temperature (2700K warm light, 3000K neutral warm white, 4000K natural white) are preferred, or CCT strips that allow you to adjust the color temperature from warm to cool while keeping a single strip.
SMD vs COB
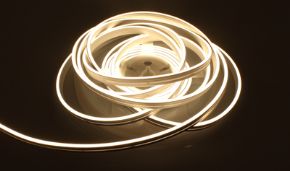
SMD (Surface Mounted Device) strips mount individual visible LED chips as small points of light along the circuit: they are the most common and economical. COB (Chip on Board) strips integrate dozens of close-packed micro-chips that produce a continuous and homogeneous line of light, without the classic "dotted" effect: they are the ideal solution when the goal is to not see the LED dots, a problem highly felt especially in exposed applications such as drop ceilings or suspended profiles in design environments.
Aluminum profiles: the choice that protects performance and lifespan
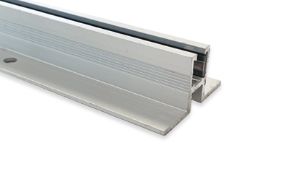
If there is one element that truly makes the difference between a professional and an amateur installation, it is the aluminum profile. Many focus only on the LED strip, forgetting that it is the profile that determines the quality of the light output, heat dissipation, and, in humid or outdoor environments, the real waterproofness of the entire system. In the Ledpoint LED strip profiles category, you will find solutions for every type of installation, from flush-mounted recessed to waterproof profiles.
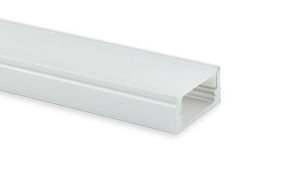
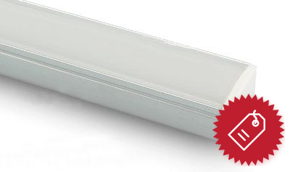
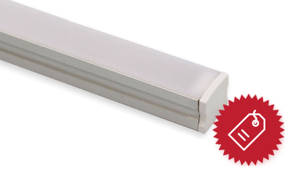
An aluminum profile performs three functions simultaneously: it dissipates heat generated by the LEDs, extending their useful life, mechanically protects the strip from impacts, dust, and weather, and finally diffuses the light evenly thanks to the opal polycarbonate cover, avoiding the dotted effect typical of SMD strips left exposed. For this reason, even a good quality waterproof LED strip performs much better (and is much better protected over time) if housed in the correct profile.
Available profile types
- Flush-mounted profiles for walls or plasterboard: completely invisible, the light exits only from the diffusion slot. Ideal for drop ceiling edges, stairs, corridors.
- Corner profiles (at 30°, 45°, 60°, 90°): perfect for illuminating kitchen undershelves or perimeter cornices, directing the light beam towards the work surface or the wall.
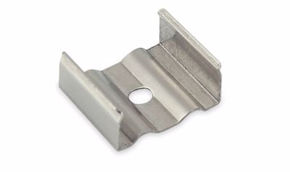
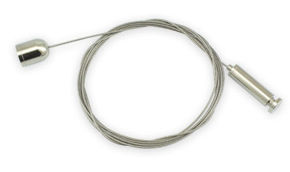
- Suspended or surface-mounted profiles: applied directly to the wall or ceiling without recessing, with fixing via clips or screws, suitable for those who do not want masonry work.
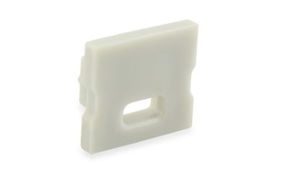
- Outdoor profiles with IP65/IP67 gaskets: equipped with silicone gaskets on the end caps and profile cover, they guarantee the waterproofness of the entire housing in addition to that of the strip itself: they are the correct choice for outdoor LED strips installed on facades, pergolas, or walkway edges.
- Underwater / immersion profiles: made with reinforced gaskets and totally sealed end caps, designed for the lighting of fountains, ponds, and pool edges where the profile itself remains submerged.
- Stair and baseboard profiles: thin sections designed for the safety lighting of steps or as a floor-level light line.
The choice of profile must always be made together with that of the strip, not after: a 12 mm wide strip will not fit into a 10 mm profile, and an outdoor profile without certified gaskets partly nullifies the IP68 protection of the strip housed in it, because water could still seep through the end caps or fixing points if these are not properly sealed.
How to correctly cut and connect the strip and profile
This is probably the phase where the most mistakes are made, and it is also the reason why many DIY installations end up not working correctly after a few weeks. Cutting or connecting an LED strip at the wrong point, or not properly sealing a junction exposed to water, can compromise the entire system even if the starting product was of excellent quality.
The necessary tools
| Tool | What it's used for |
| Sharp scissors or straight-blade cutter | Clean and perpendicular cutting of the strip at the indicated points |
| Fine-tooth saw or aluminum miter saw | Precise and clean cutting of profiles, without burrs |
| Metal square | To ensure a 90° cut on the profile, avoiding misalignments at junctions |
| File or fine sandpaper | Finishing the cut edges of the profile, removing sharp burrs |
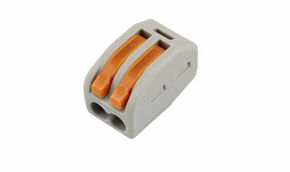
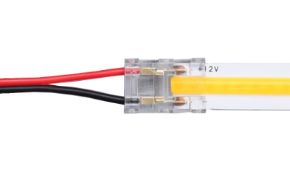
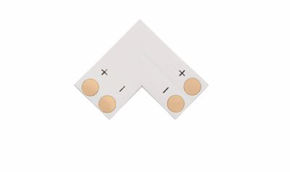
| Quick connectors or solder terminals | Connecting strip sections without damaging the copper pads |
| Soldering iron and flux | Permanent and more reliable connection compared to push-fit connectors |
| Heat shrink tubing | Insulating and protecting the solder point from humidity |
| Neutral silicone or electronic silicone glue | Closing the waterproof coating after cutting or soldering |
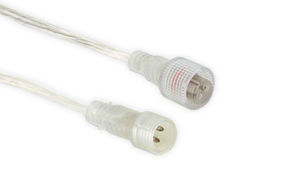
| IP67/IP68 certified waterproof connectors | Watertight connection for outdoor installations, without soldering |
How to correctly cut a waterproof LED strip
Every LED strip has marked cutting points along the circuit, usually a dashed line or a small scissors symbol, positioned at regular intervals (every 3, 5, or 10 cm depending on the model). Cutting outside these points damages the circuit and makes the section of strip after the cut unusable. The correct procedure is: identify the cutting point, cut with a sharp and perpendicular motion using sharp scissors, avoiding angled cuts that reduce the surface area of the copper pads available for the subsequent connection. On silicone-coated waterproof strips, after cutting, it is necessary to close the coating by applying a thin layer of neutral silicone on the cut part and, ideally, a small end cap or heat shrink tubing, otherwise the cut end remains a direct access point for moisture.
How to connect the strip and profile without errors
Once the strip is cut to the correct length, it must be housed inside the profile, ensuring that the adhesive surface on the back is clean and degreased before application: dust or residues drastically reduce the grip of the double-sided tape over time, causing detachments and loss of brightness at the lifting points. For the electrical connection between two strip sections, or between the strip and the power cable, there are two options:
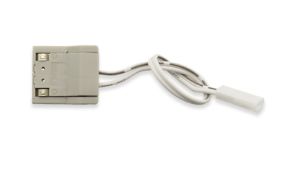
- Push-fit quick connectors (solderless): convenient and fast, they do not require a soldering iron, but are generally not recommended for outdoor or humid environments because they offer limited waterproofness, unless they are specific IP67/IP68 certified models with an integrated rubber gasket.
- Soldering + heat shrink tubing + silicone: requires more time and a bit of manual skill, but it is the most reliable and durable solution for outdoors, showers, gardens, and pool edges. After soldering the wires to the corresponding pads (respecting the +/- polarity indicated on the circuit), apply the heat shrink tubing with a heat gun and finally, for installations truly exposed to water, an additional layer of silicone or two-component epoxy resin over the entire joint.
Common mistakes to absolutely avoid
The most frequent problems in DIY installations stem from a few recurring errors, easily avoidable by knowing the critical points: cutting outside the marked points and damaging the circuit, connecting wires by inverting the polarity, which at best prevents the strip from turning on and at worst damages the driver, leaving a soldered junction exposed in a humid environment without tubing or silicone, using standard quick connectors (not IP certified) outdoors or near water, not closing the silicone coating after a cut, leaving a gap for infiltration, and finally underestimating heat dissipation, by recessing the strip in a profile that is too narrow or without a ventilated cover, which significantly shortens the useful life of the LEDs.
Practical applications: garden, shower, pool, facade, restaurant
The versatility of waterproof LED strips makes them suitable for a very wide range of contexts, each with specific technical requirements in terms of IP rating, voltage, and profile type.
Residential gardens and outdoor spaces
To border pathways, illuminate flowerbeds, or create a line of light along a low wall, the typical choice falls on IP65 or IP67 strips at 24V, housed in outdoor profiles with gaskets, powered by a transformer positioned in a protected point (garage, attic, outdoor waterproof junction box).
Showers and bathrooms
For the recurring question about which LEDs to put in a shower, the technical answer is: very low voltage strips (12V), IP67 rating minimum, housed in a recessed profile with a sealed cover, with the transformer always positioned outside the shower volume, in compliance with regulations for electrical systems in wet environments (CEI 64-8 safety zones).
Swimming pools and pool edges
For the perimeter lighting of a swimming pool, where the risk of continuous splashes and occasional direct contact with water is high, IP68 strips in dedicated underwater profiles are used, always powered by a very low safety voltage and with a transformer certified for outdoor use.
Facades and architecture
LED strips for facades are generally installed in linear outdoor or recessed profiles on cornices, with high-brightness strips and, for architectural lighting projects, calibrated color temperatures (2700K-3000K) to enhance materials like stone or exposed brick.
Restaurants and outdoor venues
For those managing an outdoor space like a restaurant or a dehors, waterproof LED lighting allows you to create a welcoming and modern atmosphere without sacrificing weather resistance. The most effective solutions combine linear suspended profiles along pergolas and gazebos, dimmable strips to modulate intensity between dinner and late evening, and control systems via app or remote control that allow you to manage the lighting without having to manually intervene every evening: an aspect highly appreciated by those who have to manage multiple light points simultaneously in a venue.
Aquariums and boats
For aquariums and boats, where contact with salt or fresh water is almost constant, high-density COB or SMD strips with an IP68 rating are used, often in a specific spectrum version for the growth of aquatic plants or simply decorative for the perimeter of the tank.
How to install a waterproof LED strip step by step
The correct installation follows a precise sequence that applies to both indoor and outdoor, with a few extra precautions for the latter. Here are the fundamental steps for a professional and long-lasting result.
- Measure accurately the length of the path to be illuminated, calculating any angles and allowing a margin for cuts.
- Choose the appropriate profile for the environment (recessed, suspended, outdoor, underwater) and the width of the selected strip.
- Clean and degrease the mounting surface with isopropyl alcohol, both for the profile (if self-adhesive) and for the strip itself.
- Cut the strip exclusively at the marked points, with a clean and perpendicular cut.
- House the strip in the profile, making sure the double-sided tape adheres well along the entire length without stretching it excessively.
- Connect the cables respecting the polarity, preferring soldering and heat shrink tubing for humid or outdoor environments.
- Seal every junction and the end caps of the profile with neutral silicone, especially on outdoor installations or those in contact with water.
- Fix the profile to the surface using clips, screws, or structural double-sided tape, avoiding drilling already finished walls when possible.
- Connect the transformer, always positioning it in an area protected from rain and direct humidity, even if it is declared IP65.
- Test the power on before permanently closing the profile with the cover, to verify that every section turns on correctly.
For those wondering how to attach LEDs to the wall without damaging it, there are alternatives to drilling: high-strength structural double-sided tapes designed for outdoors, removable fixing clips for light profiles, or magnetic channels for metal surfaces. Drilling nevertheless remains the safest and most durable solution for long or heavy profiles, especially outdoors where wind and thermal fluctuations can compromise the hold of a simple adhesive over time.
Power supply, remote control, and electrical safety
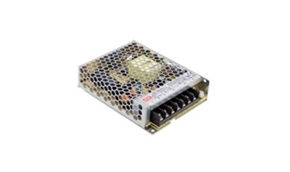
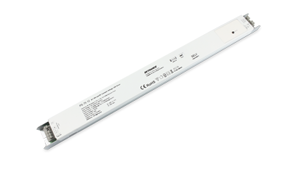
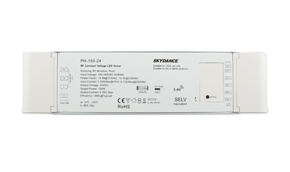
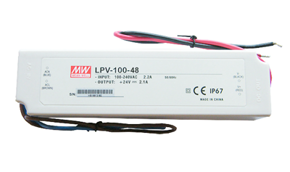
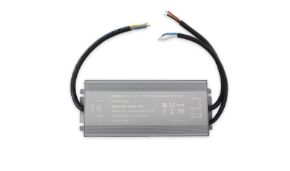
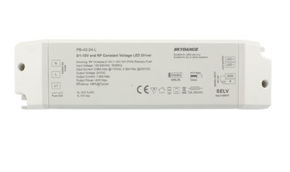
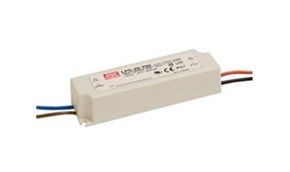
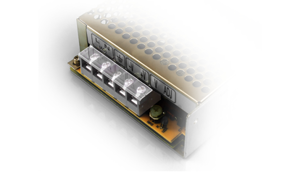
The choice of power supply voltage is not just a technical matter: it directly impacts safety, the maximum installable length, and the ease of connection. 12V and 24V strips require a transformer to step down the mains voltage, and must be sized by calculating the total watts of the system with a 20% safety margin compared to the maximum load. 220V strips, on the other hand, connect directly to the electrical grid via a cable with a plug or a fixed connection, but for safety, a magnetic residual current circuit breaker upstream is essential and, in outdoor or humid environments, IP68 certified end connectors on every end.
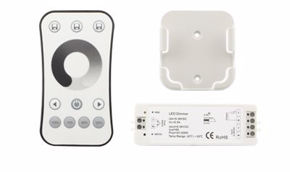
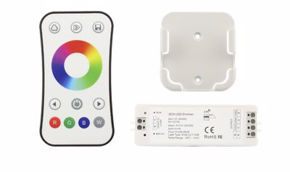
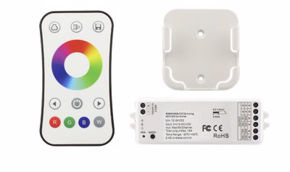
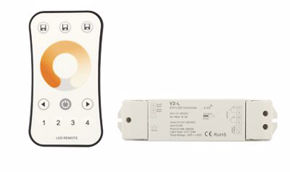
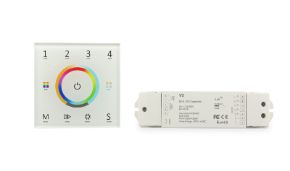
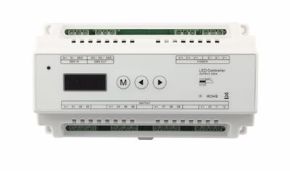
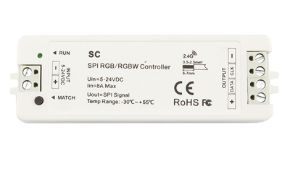
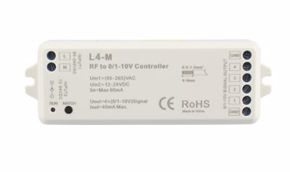
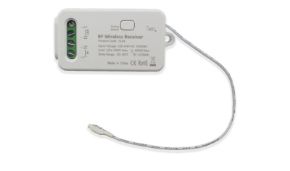
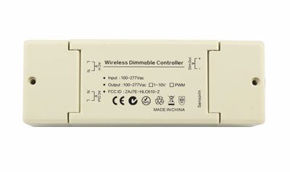
Regarding control, today the majority of mid-to-high-end waterproof LED strips support dimming via a dedicated driver, connection to a traditional switch via a relay, or remote control via RF remote or smartphone app for smart versions, with the ability to schedule power-ons, color scenes, and integration with voice assistants. This aspect is particularly interesting for those managing commercial or outdoor spaces and want to modulate the atmosphere autonomously from their phone, without repeated technical interventions.
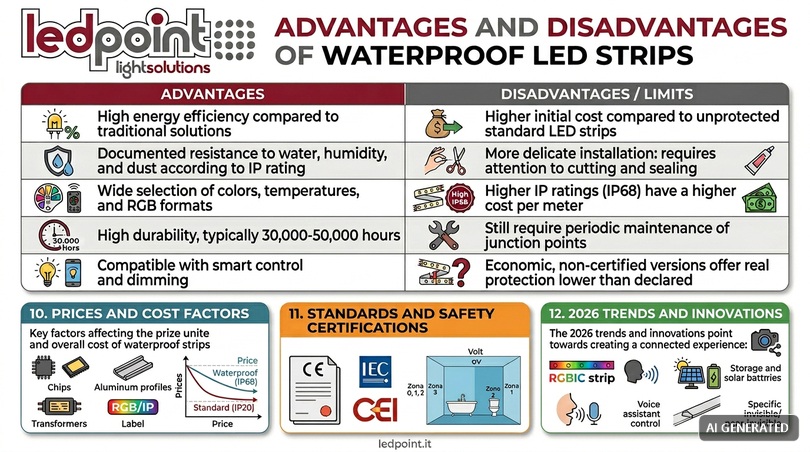
Advantages and disadvantages of waterproof LED strips
| Advantages | Disadvantages / Limitations |
| High energy efficiency compared to traditional solutions | Higher initial cost compared to unprotected standard LED strips |
| Documented resistance to water, humidity, and dust according to IP rating | More delicate installation: requires attention to cutting and sealing |
| Wide choice of colors, temperatures, and formats (RGB, CCT, COB) | The highest IP ratings (IP68) have a higher cost per meter |
| High lifespan, typically 30,000-50,000 hours | They still require periodic maintenance of junction points |
| Compatible with smart control and dimming | Cheap uncertified versions offer real protection lower than declared |
Prices and cost factors
The price of a waterproof LED strip varies significantly based on the IP rating, the density of LEDs per meter, the type (RGB or single-color), and the quality of the chip used. As a general guideline, a mid-range single-color IP65 strip falls into a more affordable price range compared to a high-density IP68 or RGB strip, while COB versions, due to their greater manufacturing complexity, tend to cost more for the same length. To the cost of the strip, you must always add the cost of the aluminum profile, the correctly sized transformer, and, if provided, the smart control system. In the overall calculation of a quote, it is useful to also consider waterproof connectors, sealing silicone, and, for professional installations, the installation labor.
Regulations and safety certifications
A reliable product must bear CE marking, the IP classification according to the IEC 60529 standard, and comply, for lighting fixtures, with the IEC 60598 standard. For systems in humid environments such as bathrooms and showers, in Italy the CEI 64-8 standard applies, which defines safety zones and the maximum voltage allowed near bathtubs and showers. Always verify that the transformer also bears an IP rating adequate for its installation environment, and not just the strip: an IP20 transformer connected to an outdoor IP68 strip nullifies the safety of the entire system if not housed in a protected technical compartment.
Trends and innovations 2026
The outdoor and humid environment LED lighting sector is moving towards products increasingly integrated with the smart-home ecosystem: RGBIC strips capable of showing multiple colors simultaneously along the same meter, voice control via domestic assistants, integrated motion sensors for automatic switching on along pathways and stairs, and solar power supplies for garden installations without a connection to the electrical grid. Attention is also growing towards energy efficiency, with chips offering higher luminous efficacy per watt, and towards the aesthetics of "invisible" installations, thanks to increasingly thin profiles designed to disappear from sight, leaving only the line of light to emerge: an aspect highly sought after even by those creating photo and video content for social media, where uniform lighting devoid of visible light points is often the element that makes the difference in a shot.
Frequently asked questions about waterproof LED strips
What is the difference between IP65, IP67, and IP68 in a waterproof LED strip?IP65 resists low-pressure water jets but must not be submerged, IP67 tolerates temporary immersion up to one meter, while IP68 is certified for permanent immersion. The choice depends on the actual contact with water expected in the installation. |
How do you cut a waterproof LED strip without damaging it?Always cut at the marked points on the circuit, with a clean and perpendicular cut, then close the cut part with neutral silicone to restore the waterproof seal. |
How do you connect a waterproof LED strip without a soldering iron?You can use push-fit quick connectors, but for outdoors and humid environments, only IP67/IP68 certified models with an integrated gasket are preferable; soldering with heat shrink tubing remains the most reliable solution. |
Which waterproof LED strip should you choose for a shower?A 12V strip with a minimum IP67 rating is recommended, housed in a sealed recessed profile, with the transformer positioned outside the shower volume in compliance with CEI 64-8 regulations. |
Can waterproof LED strips be permanently underwater?Only IP68 certified versions, generally housed in dedicated underwater profiles, are designed for permanent immersion, such as in fountains, ponds, and pool edges. |
Is a 12V, 24V, or 220V LED strip better for outdoors?For short runs, 12V is simpler and safer; for long installations, 24V reduces voltage drop, while 220V is indicated for very extensive paths but requires greater electrical safety precautions. |
How long does a waterproof LED strip installed outdoors last?With a certified product and correct installation, the useful life is generally between 30,000 and 50,000 hours, provided that heat dissipation and junction sealing have been executed correctly. |
Why use an aluminum profile instead of applying the strip exposed?The profile dissipates heat, prolonging the life of the LEDs, mechanically protects the strip, and, thanks to the diffuser cover, eliminates the dotted effect to achieve a uniform line of light. |
Choosing the right IP rating and sealing connections: the investment that pays off over time
Choosing a waterproof LED strip primarily means correctly identifying the necessary IP rating based on the actual contact with water expected, pairing it with an aluminum profile suitable for the environment, and not underestimating the cutting and connection phase, where the majority of DIY installation errors are concentrated. Careful planning, which takes into account voltage, junction sealing, and material quality, is what truly makes the difference between an installation that lasts a few months and a safe, reliable lighting system for years, whether in a private garden or in the outdoor space of a commercial business.
This article was developed with the support of artificial intelligence and subsequently reviewed, corrected, and validated by the Ledpoint.it technical team, which guarantees its reliability and compliance with official sources.